The rear mounted oil cooler comes as a kit from the factory. After some playing around with the three pieces and looking at the pictures on the factory website, it becomes apparent how this goes together. Basically you drill a 4″ diameter hole in the cover-plate and install a ducting flange with pop rivets, then rivet the standoff brackets such that they form a chamber with the firewall. The exit of the cooler dumps into the cowling. We will be installing an exhaust augmentation system that will draw this hot air, along with that coming down from the roof-mounted NACA scoops, out of the cowling through Bernoulli effect of the exhaust pipes jetting through an escape duct (thereby creating a slight vacuum).
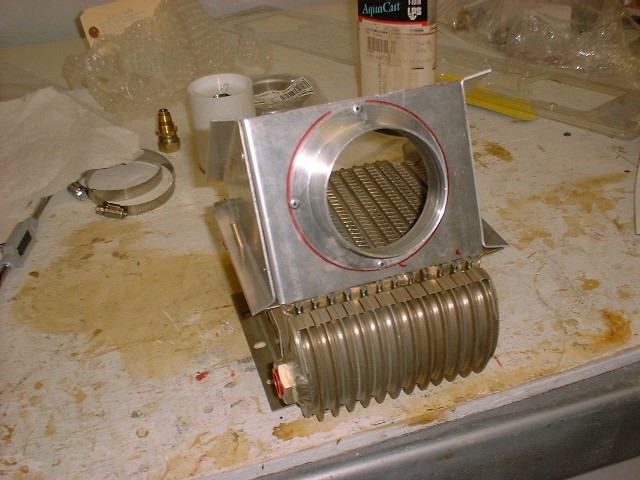
Rear Oil Cooler Bracket
Now that we have the mounted and figured out where the fuel components will go, I’ve mounted the rear oil cooler. Here, I’ve opted to make some ‘ears’ for the rear of my factory-supplied oil cooler mount since there was a significant gap back there where air could escape without going through the cooler. First I made a cardboard template, and then cut these out of some scraps of multi-ply TRIAX.

Oil Cooler Ears |

Rear Cooler Bracket |

Rear Cooler |

Rear Oil Cooler Mounted |
Posted By: Brett FerrellThursday March 25th, 2004 at 8:46 PM
Categories: Cabin Heat Engine Plumbing Tags: Building Engine Fuselage Oil