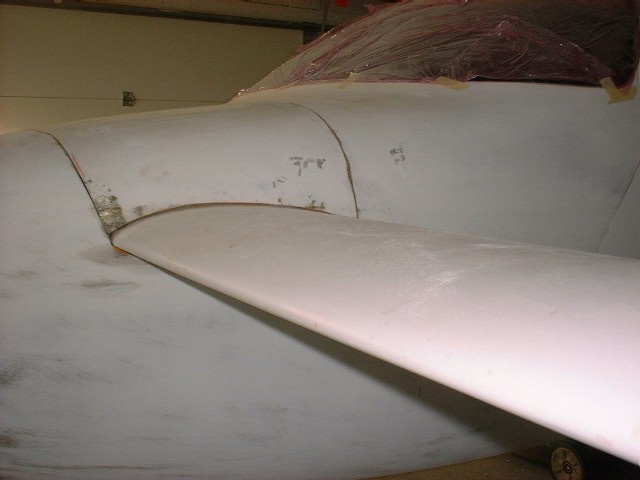
The upper canard cut-out was made during our Head Start week. I find it terrifying to make big cuts like this on my expensive bird, but it’s fairly straight forward. Just stretch the pre-marked lines down to meet the lower cut-out line. This forms the “doghouse”. You can’t tell from this picture (see below), but this fits very nicely when the canard is in (which required hand-sanding the radius for an entire evening….)
Here is a picture of the fit of the “doghouse” cover on the canard after adding a rain gutter under.
Here are some pictures of us making the rain gutter. This support is optional (not called out in the plans), but has two functions. First, it keeps the shape of the cover in line with the fuselage, but secondly it keeps any moisture that might migrate through the crack from dripping on the avionics. Instead it will (hopefully) be forced to drain to the sides of the fuselage, and there will be a drain on the floor against the canard bulkhead to allow any water to drain free of the fuselage. The flanges are made of Triax, with two layers in the center section.

Upper Canard Cut-Out |
 Canard Cutout
|
Canard Cover Fit |

Making Doghouse Flanges (inside) |

Making Doghouse Flanges (outside) |

Doghouse Flanges – Finished |
Posted By: Brett FerrellThursday June 13th, 2002 at 12:35 PM
[…] Doghouse cover flanges completed, nose tie down completed, nose cover fitted, ground power plug installed, interior handles installed, and strake drains drilled. […]