These are now pre-molded at the factory. We’ve cut the 5/8″ lip for the flange onto the fuselage, and sanded the door to fit. We have done some finishing work with Cabosil, filling the void between the hatch and the flange. This is accomplished by duct taping the cover and the pressing it down into the Cabosil and weighting it down until the Cabo cures.
Also, the manual says to install 4 screws to hold this down, but we’re considering options that would not have screw heads showing.
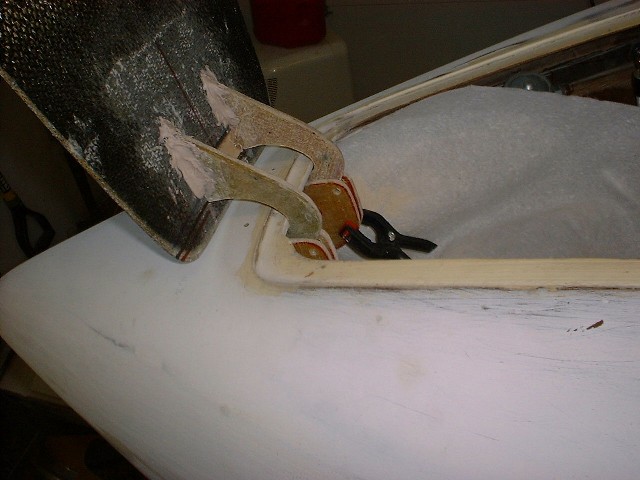
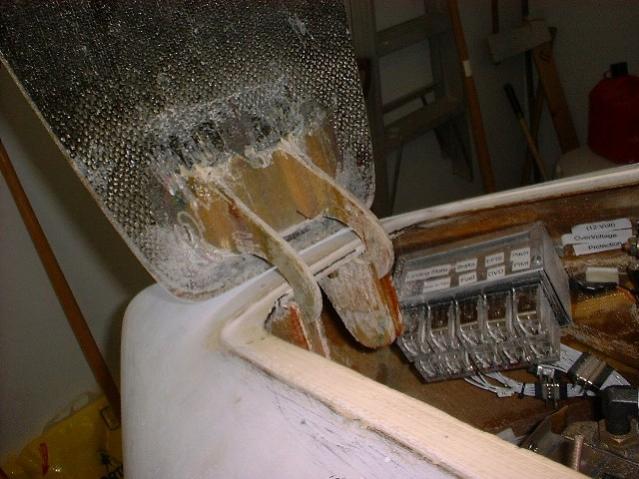
Here we’ve finally worked out a set of hinges that will allow the proper opening of the nose hatch. I was struggling to get the geometry of this right, so I fell back to plan B, I asked a girl. OK, not just any girl, a Cozy Girl. They have all sorts of really good ideas, and had already solved this one for their plane, so I got some great CAD drawings and tips from them, from which it was a simple task to finish up these snazzy hinges. Then I installed the factory latch, and a T-handle release mechanism. Here is the AutoCad file for the nose hatch hinges.

Nose Hatch Cover Rough Fit |

Nose Cover Finishing |

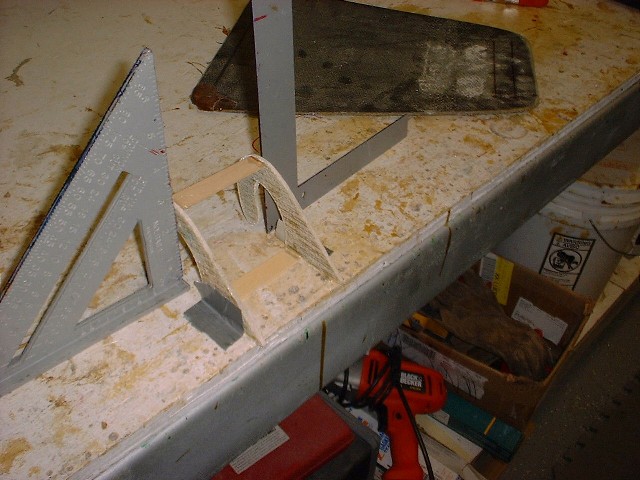
Forming the Hinge Bases |

Cozy Girl Hinge Design |
|
Jigging the Hinges in Place |

Hinges Bonded into place to test operation |
Hinge in place for Testing |

Tada! |
Well, would you look at that? |

Factory Latch – very swank |

Yup, that’s where it needs to mount! |

‘Hood Latch’ Handle |
Posted By: Brett FerrellMonday June 10th, 2002 at 12:53 PM
[…] Nose hatch and work, stainless installed into exhaust augmenters. For formatting only Lorem ipsum dolor sit amet, consectetur adipisci elit, sed eiusmod tempor incidunt ut labore et dolore magna aliqua. Ut enim ad minim veniam, quis nostrum exercitationem ullam corporis suscipit laboriosam, nisi ut aliquid ex ea commodi consequatur. Quis aute iure reprehenderit in voluptate velit esse cillum dolore eu fugiat nulla pariatur. Excepteur sint obcaecat cupiditat non proident, sunt in culpa qui officia deserunt mollit anim id est laborum […]