OK, get ready because this is going to be frustrating. Get the doors on the plane (all other work ceases). Get the plane leveled front and back and side to side. Then you need to project a line from the underside of the spar to about 78″ forward (onto previously mentioned doors). This line must be level, so pick you best midnight engineer tricks (1. Straight edge with torpedo level, 2. water level, 3. Snap a chalk line with a string level) and compare the marks. Note that they are all different and begin cursing uncontrollably. Take break, play with cat….
Eventually I decide that the water level was the best (only accurate) way to do this. I then took several measurements (pilot side strake to pilot side door, cp strake to sp side door, pilot door to cp door, etc.) until they were repeatable. Did I mention that this dimension is CRITICAL to the proper flight characteristics of the plane (the strake is a lifting surface, and you want the inboard section to incur aerodynamic stall last….). With the previous line fixed, we draw a new line 2 7/8″ above this line, which should give us -.5 degree angle of attack.
Next we fashion a block with a pencil hole in it for take contours of the fuselage and projecting them onto the strake which has been propped into position. Another handing technique from the videos is to take a level and find the vertical tangent line on the strake and wing root for fitting. You gradually work your way down until the strake lays nicely up against the fuselage. I actually started with the outboard side basically parallel with the wing, then worked the inside (all the while making sure you have at least an inch in back to cover the spars with). This whole process has a high potential for error so it took me a couple of nights to get it were I was satisfied.
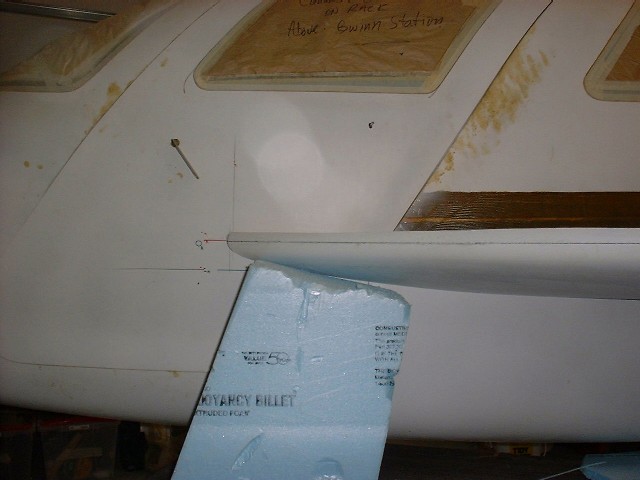
Once the dry fit is good, you mark the line were the strake meets the spar, then pull the strake and mark a line about 1/2″ forward of this and remove the inner skin. The foam is then removed from outer skin, and the foam edge is beveled for the coming layup. Once the inner skin is cleaned, we roughed up 2″ of the inner skin, wet out the area and covered the foam with micro and laid 2 BID on this area.
Fitting Pilot Strake to Incidence Mark on Door |

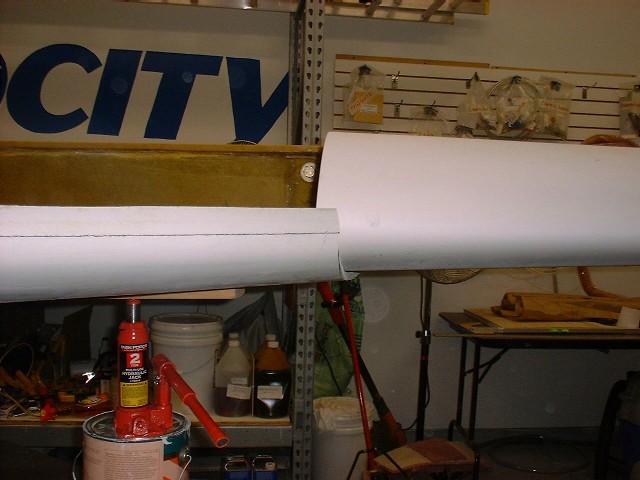
Strake Spar Reference |

Fitting Pilot Strake to Fuselage |
Fitting Pilot Strake to Wing Root |

Fitting Pilot Strake to Wing and Spar Bottom |

Removing Foam from Pilot Strake Outer Skin |

Spar Defoam Line |

Removing Foam |

Strake Spar Layup |
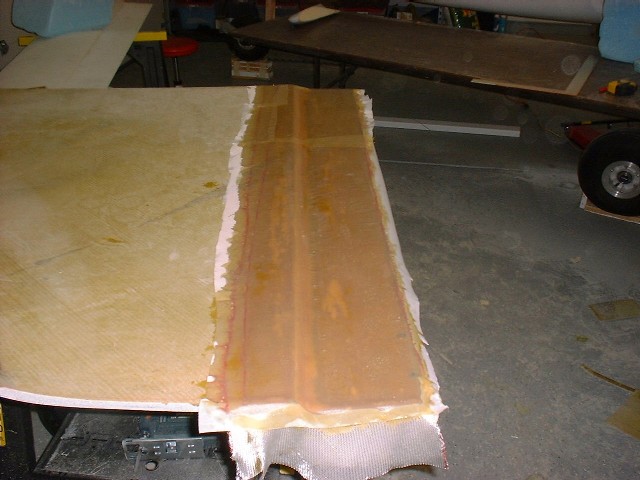
Glassing Pilot Strake-to-Spar Bonding Surface |

Spar Defoam Layup |
Posted By: Brett FerrellSaturday October 19th, 2002 at 8:25 PM